 WARNING:
Before beginning any service procedure in this section, refer to Safety Warnings in section 100-00 General Information. Failure
to follow this instruction may result in serious personal injury.
WARNING:
Before beginning any service procedure in this section, refer to Safety Warnings in section 100-00 General Information. Failure
to follow this instruction may result in serious personal injury.
| 501-05 Interior Trim and Ornamentation | 2013 - 2014 MKZ |
| Removal and Installation | Procedure revision date: 05/29/2013 |
Removal
WARNING:
Before beginning any service procedure in this section, refer to Safety Warnings in section 100-00 General Information. Failure
to follow this instruction may result in serious personal injury.
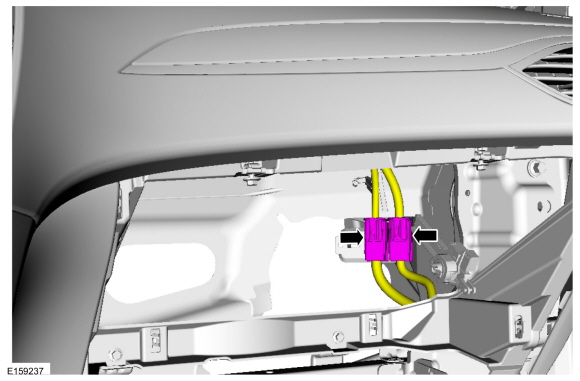


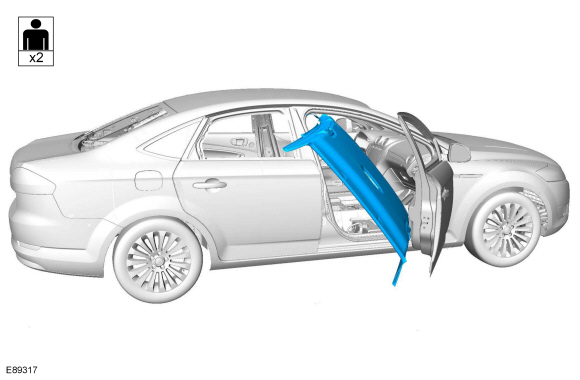
NOTE: RH side shown, LH side shown.
On both sides.
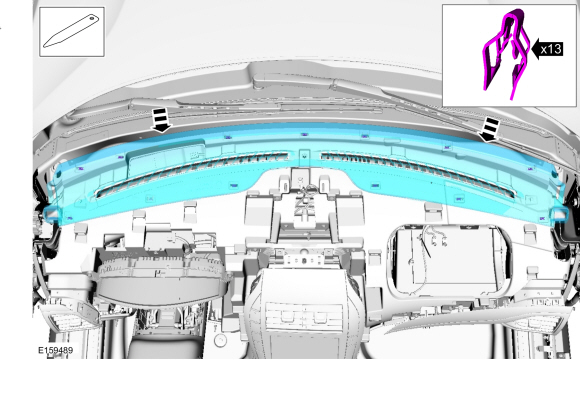
NOTE: RH side shown, LH side shown.
On both sides.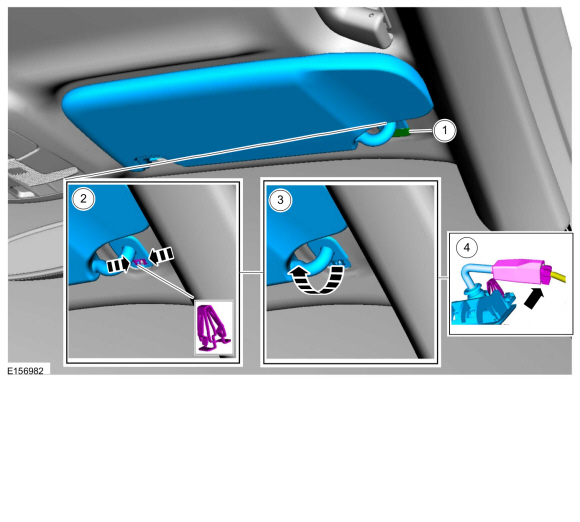
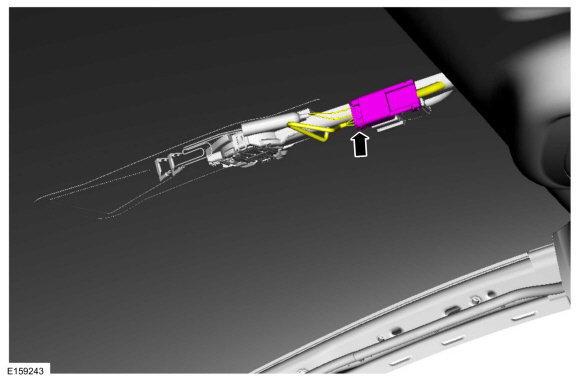
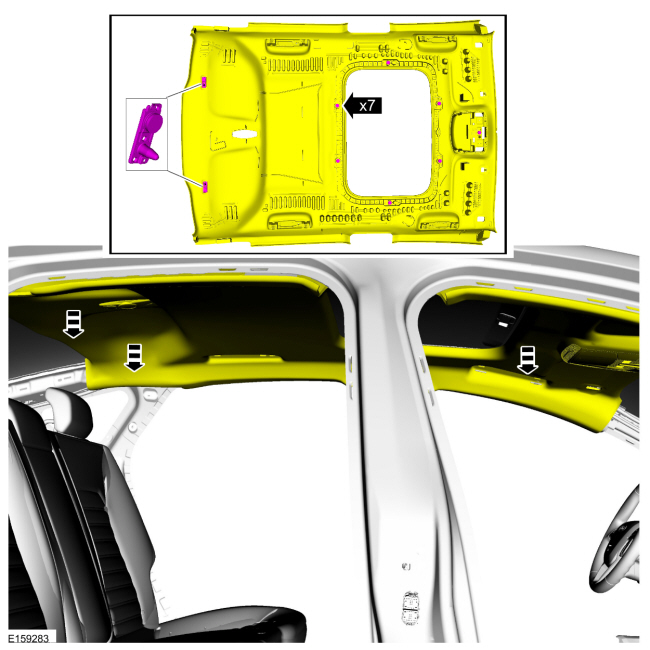
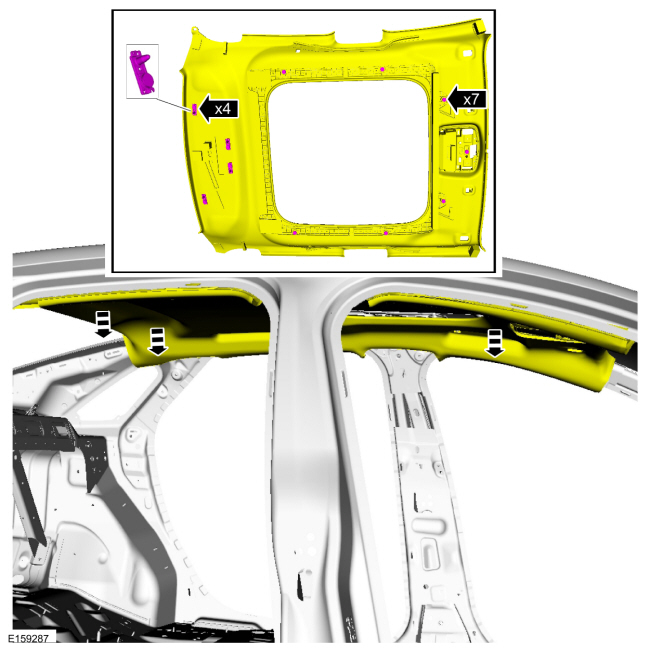
NOTE: RH side shown, LH side shown.
On both sides.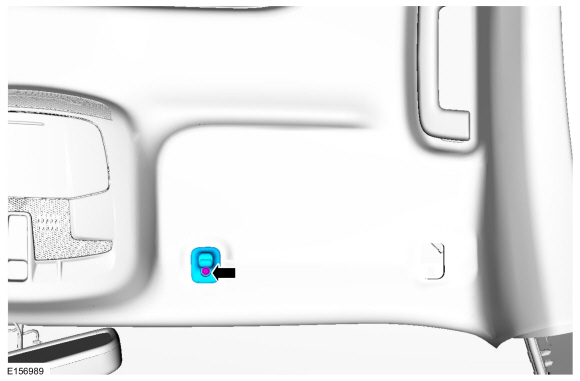

Installation
NOTE: These steps are only necessary when installing a new component.
NOTE: Obtain the specified adhesive commercially. Depending on the headliner and optional wire harness(es), the purchase of multiple tubes is suggested.
NOTICE: Make sure not to damage the wire harness when cutting the excess adhesive from the wire harness.
Cut and remove any excess adhesive from the wire harness.NOTE: Transfer parts as necessary.
To install, reverse the removal procedure.Copyright © Ford Motor Company